


Table of contents
Introduction
Welcome to the 25th day of our code blog repeat series on backend mastery. Today, we will be discussing the topic of REST principles and creating a simple HTTP server. We will begin by explaining what REST is and the key principles of RESTful web services. Then, we will dive into the step-by-step process of creating a basic HTTP server using Node.js. By the end of this guide, you will have a solid understanding of REST and the basics of creating an HTTP server. Let's get started!
What is REST?
REST (Representational State Transfer) is a software architectural style for building web services. It is an architectural style that defines a set of constraints to be used when creating web services. These constraints, when applied correctly, can lead to a more scalable and maintainable web service.
Simply put, REST, or Representational State Transfer, is a way to build web services. It provides a set of rules and guidelines for creating these services, making it easier for different systems to communicate with each other over the internet.
The main problem that REST solves is how to make different systems, which may be built using different technologies, able to talk to each other. RESTful web services provide a standard set of methods, such as GET, POST, PUT and DELETE, which can be used to retrieve, create, update, and delete data. These methods are easy to understand and are supported by many different programming languages and frameworks.
REST also provides a simple way for systems to identify resources, such as information about a particular user or product, using URIs (Uniform Resource Identifiers). This makes it easy for systems to access the information they need, without having to know specific details about how the data is stored.
Some key principles of REST-
Client-Server architecture: The client-server architecture is one of the key constraints of REST. In this architecture, the client and the server are separate entities that communicate over a network. The client sends a request to the server, and the server sends a response back. This separation of concerns allows for the client and server to evolve independently.
Cacheability: Another constraint of REST is cacheability. This means that responses to requests can be cached in order to improve performance. This can be done on the client-side or at an intermediary such as a proxy server. When a request is made to the server, the server can include information in the response that indicates whether or not the response can be cached.
Layered-System: The architecture is composed of multiple layers, with each layer providing a specific set of functionality. This allows for separation of concerns and makes it easier to evolve the system over time.
Stateless: The server does not maintain any information about the client between requests. This means that all information required to understand a request must be included in the request. This constraint is important for scalability and maintainability, as it allows for the server to handle multiple requests simultaneously.
Uniform Interface: The interface between the client and server is uniform, meaning that the same set of methods and conventions is used for all requests and responses. This constraint allows for the client and server to be loosely coupled, which makes it easier to evolve the system over time.
In summary, REST is an architectural style that defines a set of constraints to be used when creating web services. These constraints, when applied correctly, can lead to a more scalable and maintainable web service. RESTful web services are characterized by their use of HTTP and the principles of the REST architecture.
Building a Simple HTTP Server
What is HTTP Server
An HTTP server is a piece of software that listens for incoming HTTP requests and sends back responses. It is the foundation of the web, as it allows clients (such as a web browser) to communicate with servers using the HTTP protocol. When a client makes a request to an HTTP server, the server processes the request and sends back a response. This process of sending and receiving requests and responses is what enables the web to function.
So, lets start -
Setting up the Environment
Before we begin building our HTTP server, we need to set up our development environment. For this example, we will be using Node.js and the built-in http module. Once Node.js is installed, you can check the version by running the command node -v in the terminal.
Creating the HTTP server
The http module is a built-in module in Node.js that provides the functionality to create an HTTP server and handle HTTP requests. We need to import this module into our project using the require() function so that we can use the methods provided by the http module to create a server and handle incoming requests.
In simple terms, the http module allows our Node.js application to understand and communicate using the HTTP protocol, which is the foundation of the web. Without importing the http module, we wouldn't be able to create an HTTP server or handle HTTP requests, which are essential for building web applications and servers.
In order to use the built-in http module in Node.js, we need to first import it into our project. We can do this by using the require() function.
const http = require('http');
This will give us access to all the methods provided by the http module that we can use to create an HTTP server and handle HTTP requests.
Using the http.createServer() method
The built-in http module in Node.js provides a way to create an HTTP server. The first step to creating a server is to import the http module and use the http.createServer() method. This method takes in a callback function that will be executed whenever a request is made to the server. The callback function takes in two arguments, a request object and a response object.
const http = require('http');
const server = http.createServer((req, res) => {
    // handle requests here
});
Handling incoming requests
Once we have created the server, we can handle incoming requests by using the request object. The request object contains information about the incoming request, such as the HTTP method and the URL. We can use the request object to check the method and url, and handle them accordingly.
server.on('request', (req, res) => {
    if(req.method === 'GET' && req.url === '/') {
       // handle GET request to '/' route
    }
    if(req.method === 'POST' && req.url === '/submit') {
       // handle POST request to '/submit' route
    }
});
Sending responses back to the client
Once we have handled a request, we need to send a response back to the client. We can use the response object to set the status code and headers of the response and send the response body.
server.on('request', (req, res) => {
    if(req.method === 'GET' && req.url === '/') {
        res.writeHead(200, {'Content-Type': 'text/plain'});
        res.end('Welcome to our server!')
    }
});
In this example, we set the status code to 200 (OK) and the content-type to 'text/plain' using the res.writeHead() method. Then, we send the string 'Welcome to our server!' as the response body using the res.end() method.
Starting the server
Once we have created and configured our server, we need to start it so that it can begin listening for incoming requests. We can use the server.listen() method to start the server and specify the port number it should listen on.
server.listen(3000, () => {
    console.log('Server listening on port 3000');
});
This will start the server and make it listen on port 3000 for incoming requests. Once the server is started, it will log a message in the console to confirm that it is listening on the specified port.
At the end, the combined program should look like this:
const http = require('http');
const server = http.createServer((req, res) => {
    if(req.method === 'GET' && req.url === '/') {
        res.writeHead(200, {'Content-Type': 'text/plain'});
        res.end('Welcome to our server!')
    }
});
server.listen(3000, () => {
    console.log('Server listening on port 3000'); });
Making requests to the server
Now that the server is running, we can test it by making requests to it. We can use a browser or any other HTTP client to make requests to the server. For example, we can open a browser and navigate to "http://localhost:3000" to make a GET request to the server. We can also use tools like curl or Postman to make requests from the command line.
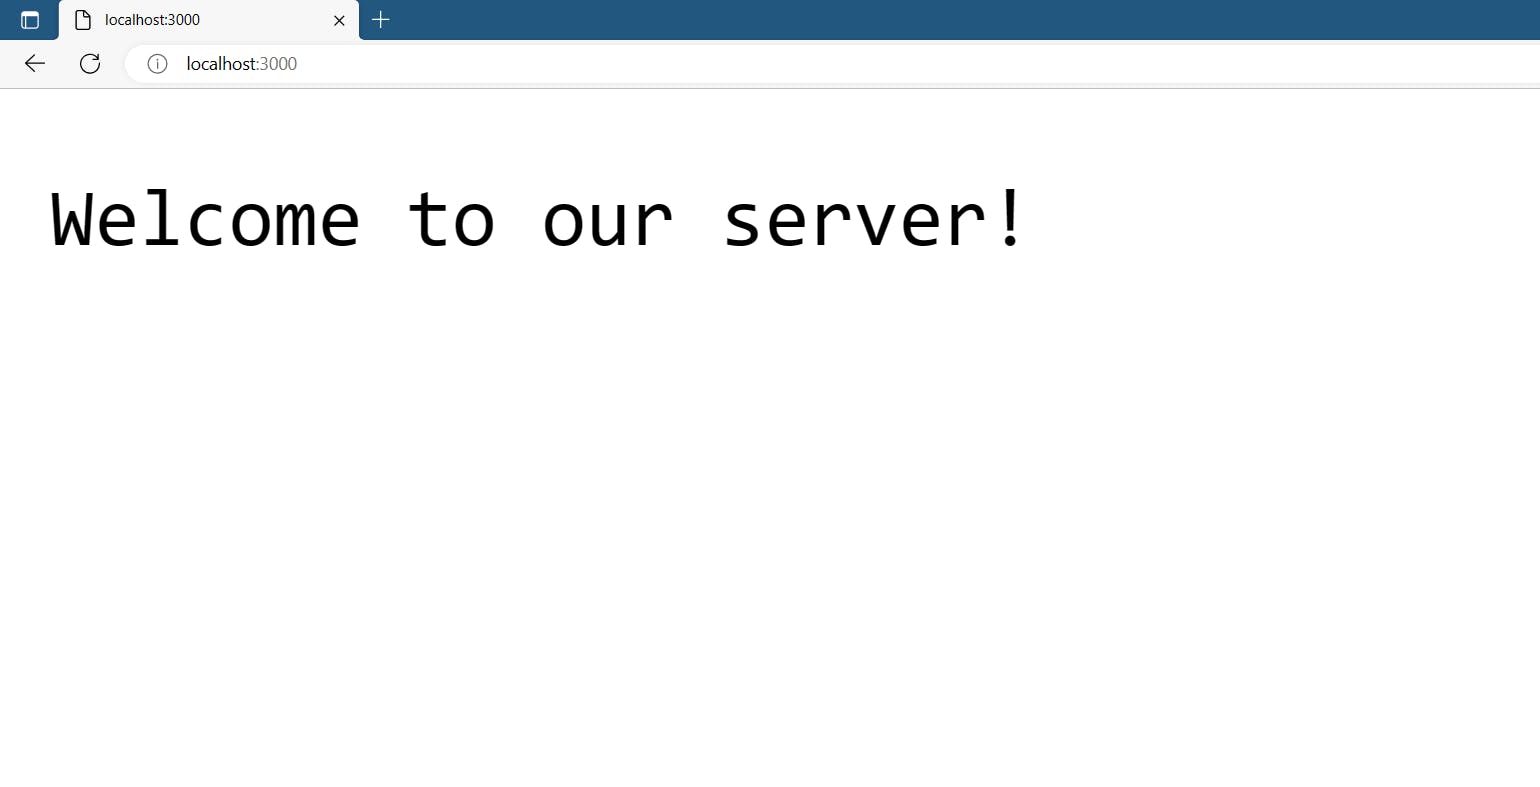
This is a simple example of how to create a basic HTTP server using Node.js and the built-in http module. It creates a server that listens on port 3000 and responds with the message "Welcome to our server!" when a GET request is made to the "/" route.
Checking the server logs
As we make requests to the server, it will generate logs that provide information about the requests and responses. We can check the server logs to troubleshoot any issues or to monitor the server's performance.
In Node.js, we can use the console.log() method to log messages to the console. In the above example, we logged a message to the console to confirm that the server is listening on the specified port.
Keep in mind that this is a very basic example and a real-world scenario you would want to add more functionality, security and error handling to your server. But this example should provide a good starting point for building more complex servers using the basic concepts.
Conclusion
In this 25th day of our code blog repeat series on backend mastery, we have covered the topic of REST principles and creating a simple HTTP server. We began by discussing what REST is and the key principles of RESTful web services, including client-server architecture, cacheability, layered-system, stateless, and uniform interface.
Next, we dove into creating a basic HTTP server using Node.js and the built-in http module. We covered the steps involved in setting up the environment, creating the server, handling incoming requests, and sending responses back to the client. We also discussed how to test the server by starting it, making requests to it, and checking the server logs.
We hope that this guide has provided a clear and easy-to-understand introduction to the concepts of REST and creating a simple HTTP server. As you continue on your journey towards mastering backend development, we encourage you to share your feedback and comments about this guide, and let us know what you have learned.
Thank you for reading our blog, and we look forward to sharing more insights and tutorials in the future.